
I’d like to officially introduce you to our latest creation. Please welcome, AstroPrint Desktop. AstroPrint Desktop is a cross-platform, cloud-enabled Desktop app that allows you to manipulate and print designs locally and via the cloud. AstroPrint Desktop allows you to print to your 3D Printer via USB without needing an AstroBox Gateway. Meanwhile, if […]
Introducing AstroPrint Mobile for iOS and Android
AstroPrint Mobile is a cross-platform (iOS & Android) mobile app that will allow you to remotely manage your 3D Printer from your smartphone and receive real-time notifications of your printer status. Since AstroPrint’s inception (in 2013), our primary goal has been to simplify 3D Printing and provide the most advanced cloud platform in existence for […]
AstroPrint Launches Equity Crowdfunding Campaign, Allowing Anyone to Invest in the Future of 3D Printing
Press Release: AstroPrint Launches Equity Crowdfunding Campaign, Allowing Anyone to Invest in the Future of 3D Printing San Diego, California (September 22, 2017) – AstroPrint, a San Diego based technology company, has just launched an Equity Crowdfunding campaign on the Indiegogo platform. This allows nearly anyone to invest as little as $100 into AstroPrint through […]
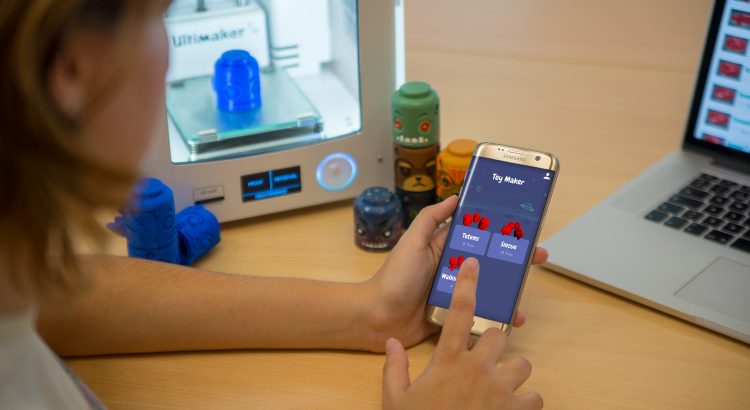
How STEAM Studio uses AstroPrint to Teach 3D Printing to Kids
In early 2016, we founded STEAM Studio in Wexford, PA, as a place to teach kids STEAM (Science, Technology, Engineering, Arts, Math) concepts with hands on projects and experiments. From the beginning, we wanted 3D Printing to be a big part of our curriculum and projects. 3D Printing gets kids excited about engineering because of […]

How To Use Print Queuing with your 3D Printer
So you want to load up multiple designs on your 3D Printer and control the sequence of when they will be printed? As in, you want to use print queues with your 3D Printer? If so, I have good news for you. The ability to use print queueing is now available on AstroPrint Pro Accounts. The […]
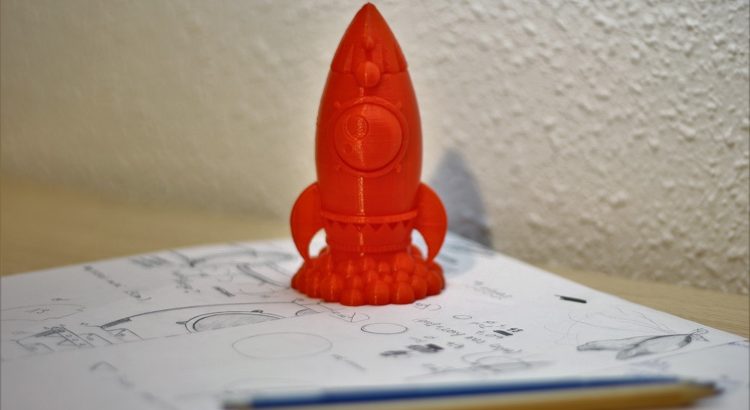
AstroPrint Rocket 3D Printer Stress Test
We’re excited to release our first 3D Printable AstroPrint logo! And it works as a calibration and stress test too! This new rocket is a challenging tool to test the filament and calibration of your 3D printer. It has small details, overhangs and smooth curves, so you can push your printer to the limit.
How to add Notes, Tweak Settings, Rename Files & Preview Prints
We’ve released a bunch of features that should make 3D Printing a bit smoother on AstroPrint. These features aren’t necessarily huge, but it should certainly make your workflow easier. While a few of these features (like Print Preview) are fairly obvious, unavoidable and straightforward — a couple of them (namely, Notes and Tweak Settings) are […]
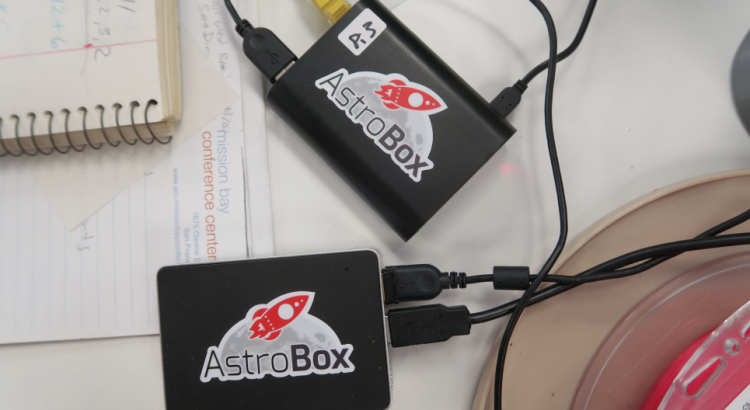
How to Build a Astrobox Gateway with a Raspberry Pi 3 for Wireless 3D Printing
Introduction As you know, we have discontinued the pcDuino based Astroboxes and have switched to Raspberry Pi 3 as the primary method of creating an Astrobox Gateway. Side note: The AstroBox Gateway is different from the AstroBox Touch, which is a premium touchscreen that cannot be built at home. The AstroBox Gateway, on the other hand, is […]
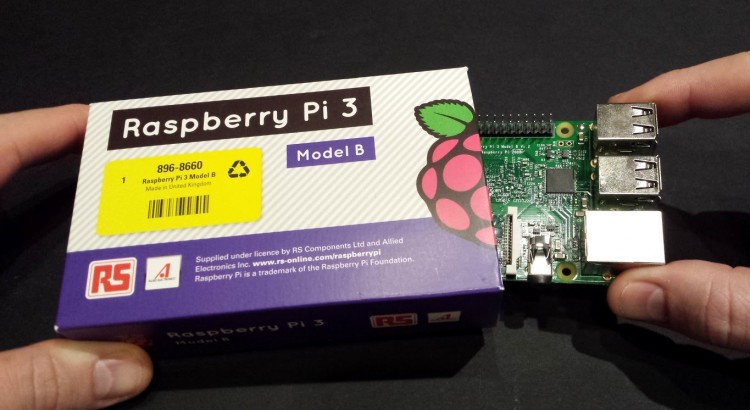
AstroPrint & Raspberry Pi 3 Support
If you are looking for instructions on How to build your own Astrobox with a Raspberry Pi 3, follow this guide. AstroPrint currently supports Raspberry Pi 3. You might want an additional WiFi dongle along with the Raspberry Pi 3’s built-in WiFi if you’d like the best ease of setup. Why would I need another […]

Live video streaming is now available on Astroprint!
Our latest release, v0.9(0) is finally out! The major highlights in this release: Raspberry Pi 3 support (read more about this) & Live Video Streaming. Live Video Streaming is arguably one of the most requested features from our users and we are happy to announce that you now have the ability to watch a live video stream […]