
Introduction
As you know, we have discontinued the pcDuino based Astroboxes and have switched to Raspberry Pi 3 as the primary method of creating an Astrobox Gateway.
Side note: The AstroBox Gateway is different from the AstroBox Touch, which is a premium touchscreen that cannot be built at home. The AstroBox Gateway, on the other hand, is the free, open source version that can be built by anyone (which is covered in this guide). If you are NOT interested in creating your own AstroBox Gateway, you can buy a Raspberry Pi 3 Astrobox Gateway kit directly from us. Also, before you continue with either option, it’s a good idea to check out our printer compatibility page to make sure your printer is compatible.
This is a brief guide on how to create an Astrobox Gateway using a Raspberry Pi 3.
You can skip steps #2 and #3 if you already bought a pre-flashed SD Card from us.
Let’s get started.
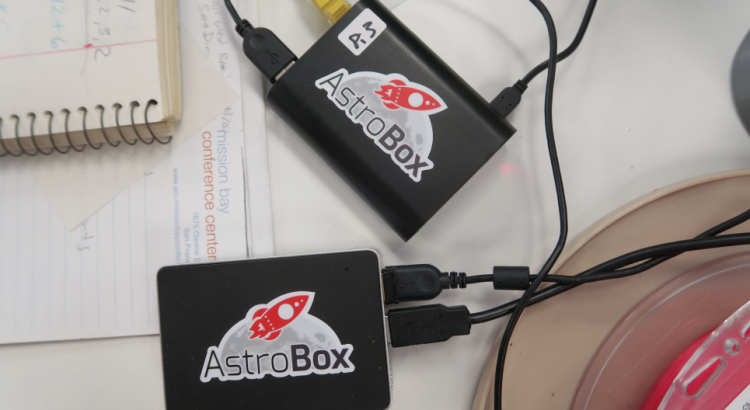
Step 1: Gather supplies.

What you’ll need:
- A Raspberry Pi 3
- Edimax EW-7811Un Wi-Fi USB Adapter — (Why do I need an extra dongle?)
- 8GB Class 10 MicroSDHC Memory Card (try to get a class 10 card)
- 5V 2.5A Power Supply (make sure it’s 5V and 2.5A)
- Raspberry Pi 3 Case (optional – you can also 3D Print a case)
- A free AstroBox Image to install into your Raspberry Pi 3
Total Estimated Cost: $65 USD
Note about #2: If you don’t need hotspot functionality, it is possible to use a Raspberry Pi 3 without an extra WiFi dongle – You’ll need to be aware of the Astrobox’s IP address while you set it up for the first time using Ethernet though. (Not covered in this guide)
Optional Materials (not listed in the picture above)
Cameras: If you are interested in remotely monitoring your 3D Printer, you’ll need a camera for your Astrobox.
These are the ones we have tested and can recommend:
Got a Raspicam? Support for Raspicam is currently experimental but should mostly work. Remember to activate your camera using raspi-config.
Step 2: Download an Astrobox Image
(Skip this step if you bought a Pre-Flashed SD Card from us)
First, download an Astrobox Image from the downloads section.

Optional: In order to check the integrity of the image, you can check the MD5 checksum listed on our downloads page against the file you just downloaded. (How do I do that?)
After it’s done downloading, extract the contents of the zip file into a directory.
You should end up with a file ending in .img, like so:
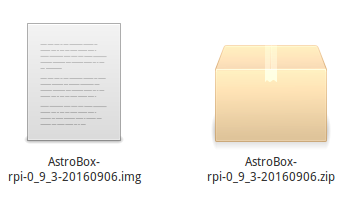
For our purposes, all we need is the .img file.
Step 3: Flash/Install the AstroBox Image into your microSD card.
(Skip this step if you bought a Pre-Flashed SD Card from us)
During this step, our goal is to install the Astrobox image we downloaded earlier into the Raspberry Pi 3.
The successful completion of this step is the most critical in this guide.
- Download and run Etcher for your operating system.
- Select the .img file obtained in the previous step
- Select the SD Card where you want the image to flashed.

Etcher will flash and verify the SD Card. Looks good? Great.
If not, you might need to repeat the flashing process above. Also, check the MD5 checksum in Step #1 to verify the integrity of the image.
Let’s move on to the next step.
Step 4: Astrobox Setup
Presuming you have successfully flashed the Astrobox image into your Rasperry Pi 3, the final step is to simply configure your Astrobox.
The best method to accomplish this is to first connect to your Astrobox via it’s own WiFi hotspot.
Decided not to use a WiFi dongle? If you chose not to use the additional WiFi Dongle, you’ll need to know the Astrobox’s IP address in order to access it over the browser. (not covered in this guide)
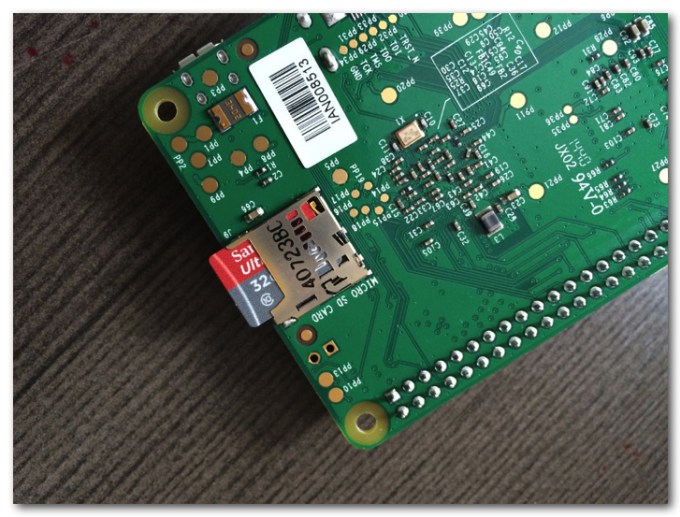
First, go ahead and plug in the microSD card into the Pi
Second, make sure your Wi-Fi Adapter is plugged into the Pi.
Then, simply power it on.
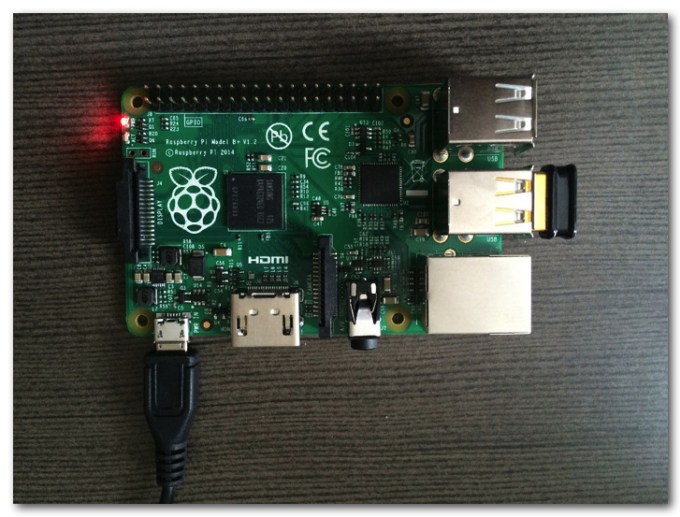
After several minutes, you should see a hotspot in the format of astrobox-XXXX in your WiFi manager. You don’t NEED a laptop/desktop computer to do this by the way — a smart phone would suffice.
Go ahead and connect to the Astrobox WiFi hotspot

Then head to http://astrobox-1085.local/ or http://10.10.0.1 to complete the setup.
Note: Replace 1085 with the 4-digit astrobox number you see on your hotspot list.
The setup should be fairly straightforward from this point on.
If you need a visual aid, follow this video starting from 1:01:
If you have any question(s) or need clarification on a certain step or process, you can ask us on the forums.
If you’d like to enable cloud functionality so that you can remotely monitor and manage your 3D Printer from anywhere in the world with any device, be sure to PAIR your AstroBox with your AstroPrint cloud account by clicking on the ROCKET ICON on the top right corner.
Ideally, all three icons on the top right should be green like this:
![]()
Our final product allows us to simply plug into a 3D Printer and have the ability to manage it remotely using the AstroPrint Cloud Platform.
Cool huh?