How STEAM Studio uses AstroPrint to Teach 3D Printing to Kids

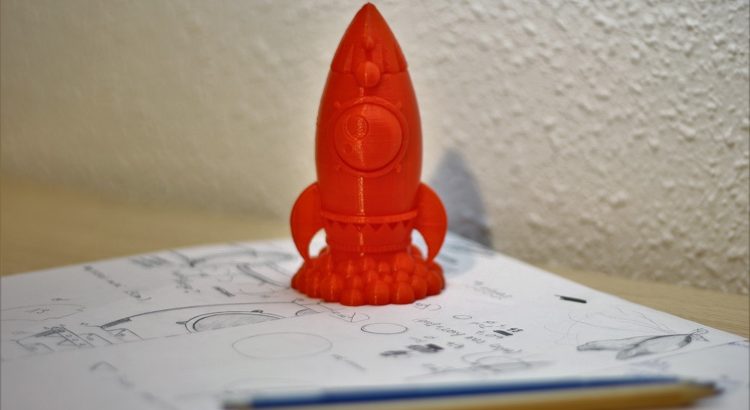
In early 2016, we founded STEAM Studio in Wexford, PA, as a place to teach kids STEAM (Science, Technology, Engineering, Arts, Math) concepts with hands on projects and experiments.

From the beginning, we wanted 3D Printing to be a big part of our curriculum and projects. 3D Printing gets kids excited about engineering because of the hands on nature of having to design, print and take home cool objects.

(more…)

Read More

Print your queues with your 3D Printer

How To Use Print Queuing with your 3D Printer

So you want to load up multiple designs on your 3D Printer and control the sequence of when they will be printed? 

As in, you want to use print queues with your 3D Printer?

If so, I have good news for you.

The ability to use print queueing is now available on AstroPrint Pro Accounts.

The Print Queues feature will let you:

  1. Create a new print queue and assign it to a printer directly from the File Manager
  2. Add multiple copies of the same design to a print queue with one click
  3. Edit or Remove existing Print Queues
  4. Add a design to a “Print It Later” bucket until you decide on what print queue to add it to

This means that you can line up any number of designs on any number of printers in any sequence, right from your AstroPrint cloud account.

(more…)

Read More

Print your queues with your 3D Printer

How to add Notes, Tweak Settings, Rename Files & Preview Prints

We’ve released a bunch of features that should make 3D Printing a bit smoother on AstroPrint.

These features aren’t necessarily huge, but it should certainly make your workflow easier.

While a few of these features (like Print Preview) are fairly obvious, unavoidable and straightforward — a couple of them (namely, Notes and Tweak Settings) are a bit hidden on the platform.

Here’s a quick summary of what we will cover:

  1. Print Preview – When you are trying to print a file, the Print Preview screen will give you an estimate of how long the print will take along with options to discard the print file and check to make sure your bed is clear.
  2. Notes – You now have the ability to include custom notes on any print file(s) for additional clarity in organizing your files
  3. Tweak Settings – You also have the ability to Tweak Settings from your last print when you are experimenting with settings — without having to start all over again.
  4. Print File Name Changes – Fairly self-explanatory. You can now change the confusing file name(s) on any print file(s).

(more…)

Read More

Astroprint and Raspberry Pi 3

How to Build a Astrobox Gateway with a Raspberry Pi 3 for Wireless 3D Printing

Introduction

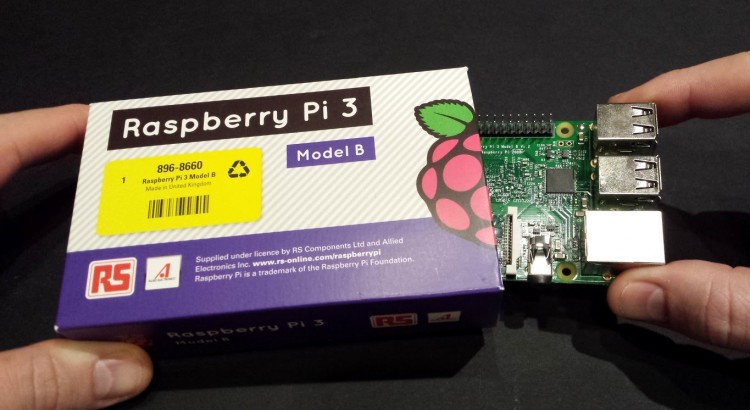
As you know, we have discontinued the pcDuino based Astroboxes and have switched to Raspberry Pi 3 as the primary method of creating an Astrobox Gateway.

Side note: The AstroBox Gateway is different from the AstroBox Touch, which is a premium touchscreen that cannot be built at home. The AstroBox Gateway, on the other hand, is the free, open source version that can be built by anyone (which is covered in this guide). If you are NOT interested in creating your own AstroBox Gateway, you can buy a Raspberry Pi 3 Astrobox Gateway kit directly from us. Also, before you continue with either option, it’s a good idea to check out our printer compatibility page to make sure your printer is compatible. 

This is a brief guide on how to create an Astrobox Gateway using a Raspberry Pi 3.

You can skip steps #2 and #3 if you already bought a pre-flashed SD Card from us.

Let’s get started.

(more…)

Read More

Astroprint & Raspberry Pi 3

AstroPrint & Raspberry Pi 3 Support

If you are looking for instructions on How to build your own Astrobox with a Raspberry Pi 3, follow this guide.

AstroPrint currently supports Raspberry Pi 3. You might want an additional WiFi dongle along with the Raspberry Pi 3’s built-in WiFi if you’d like the best ease of setup.

Why would I need another WiFi dongle when the Raspberry Pi 3 has built in WiFi?

The built-in WiFi on the Raspberry Pi 3 cannot maintain a simultaneous network connection to your WiFi network and broadcast it’s own hotspot like we require on our Astroboxes. Therefore, the built-in Raspberry Pi 3 WiFi is not sufficient to give you the easiest plug-and-play experience.

With that said, the built in Raspberry Pi 3 WiFi is still used.

The need for the additional WiFi dongle is mainly to support hotspot functionality.

Note: If you don’t need hotspot functionality, it is possible to use a Raspberry Pi 3 without a WiFi dongle. There’s an alternative method of setting up the box using ethernet and our desktop app explained here.

If you have any questions or suggestions about any of the above, join us on our forums.

Read More

Feature Updates: Print Preview, Notes, Tweak Settings & Print File Renaming

Live video streaming is now available on Astroprint!

Our latest release, v0.9(0) is finally out!

The major highlights in this release: Raspberry Pi 3 support (read more about this) & Live Video Streaming.

Live Video Streaming is arguably one of the most requested features from our users and we are happy to announce that you now have the ability to watch a live video stream of your 3D Printer from anywhere around the world! This means that you can monitor your prints in real time in full screen and in high definition straight from your AstroPrint dashboard.

(more…)

Read More

Print your queues with your 3D Printer

Organize your designs with Project Folders on AstroPrint

Why Project Folders?

By popular demand, you now have the ability to neatly organize all of your designs and print files directly inside the File Manager. The need for this feature came out of our users voicing their frustrations on our forums about the difficulty of organizing files within the AstroPrint File Manager.

Our solution is quite simple: Project Folders.

File organization has always been a fundamental necessity in the history of computing, and 3D Printing is no exception.

Being one of the most popular cloud platforms for 3D Printing, organizing design files on AstroPrint is an absolute necessity.

Now, keep in mind that this is only the first version. Meaning, it’s not perfect.

We will be improving this feature in future iterations based on your feedback.

As always, if you have any suggestions on improving the workflow and making this feature more intuitive, please let us know via our forums or on twitter.

This feature is likely going to evolve into one of the most used features of the AstroPrint File Manager.

Enough chitter chatter, so how the heck do you actually use Project Folders?

It’s quite simple. Let me show you how.


Creating a new Project

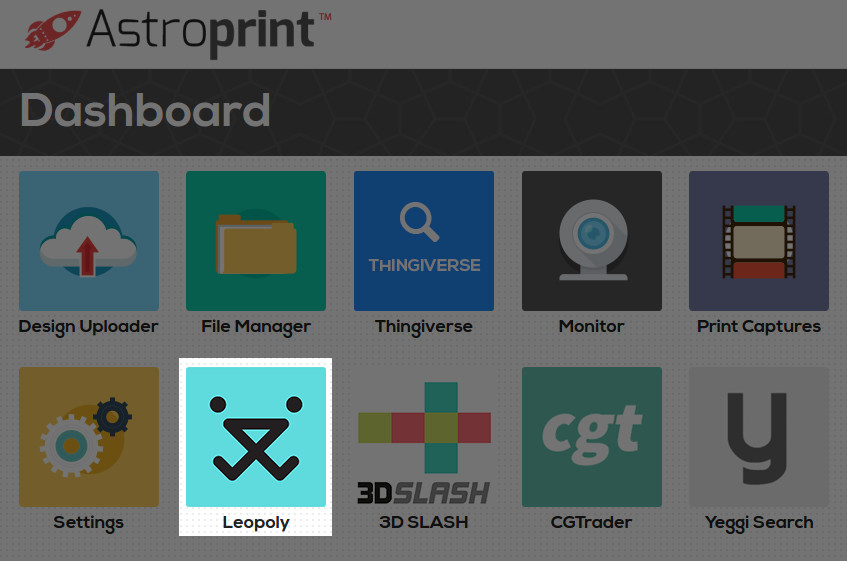
  • First, you want to fire up the File Manager.
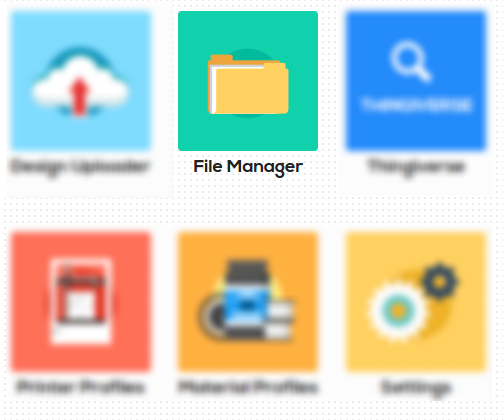
 

Astroprint File Manager


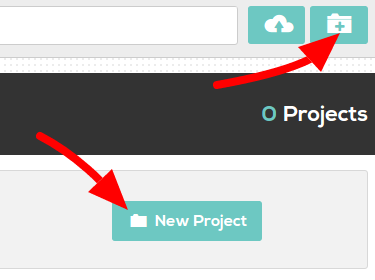
  • There are two main ways to create a new Project. You can either click the button located on the upper right-hand corner of your screen (next to the Upload button) OR you can simply click the New Project button.


  • Note: Keep in mind that the New Project button only shows up when you have 0 projects. After you have created a Project, you’ll have to use the smaller button on the top right-hand corner to create additional Projects. 
 

Create new project on Astroprint


  • Once you have clicked either button to create a new project, simply assign a name for your new project. Don’t worry, you can rename this later if you change your mind.


Create new project with AstroPrint


  • Once you create your project(s), you’ll see them ABOVE the rest of your designs in the File Manager in a dedicated section called My Projects. In this section, you can also rename or delete your projects.
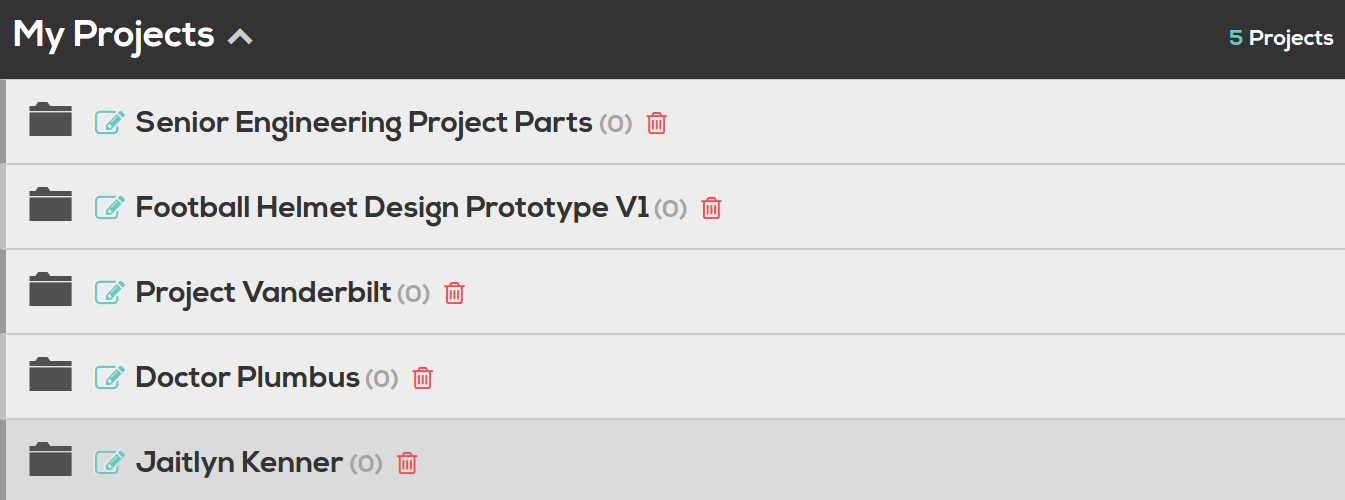
 

Organizing files on astroprint


Moving designs from File Manager to Projects


  • You also have the option of moving existing files from the File Manager to an existing Project Folder. This should be a convenient way to move specific designs into your Project Folder for better organization.
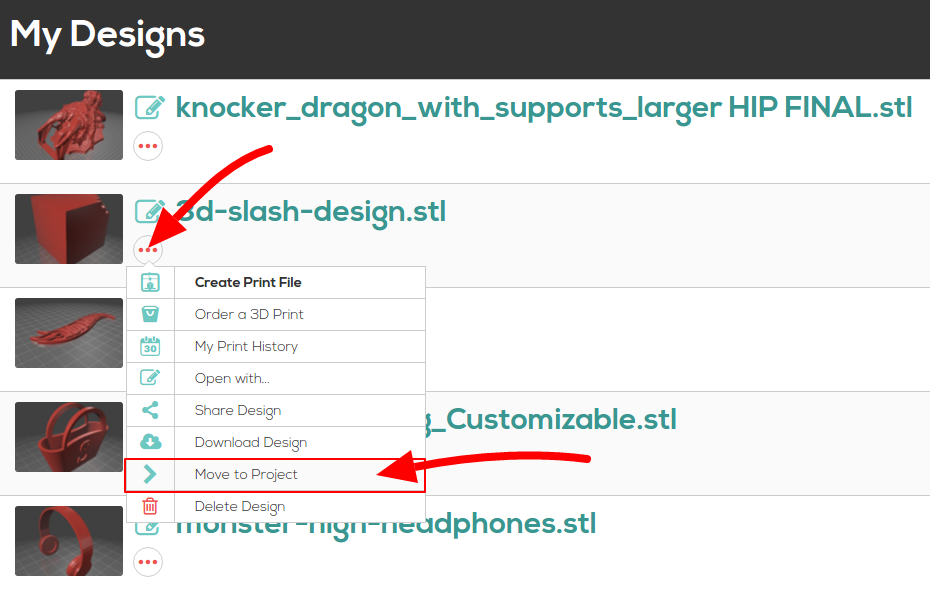
 

Organizing files on Astroprint


 Moving designs from Projects to File Manager

  • If you’d like to move a design from one of your Project Folders to the File Manager, simply click the circle with the 3 red dots to bring up the context menu, then choose “Remove from Project“. This will remove the file from a Project and place it back in the File Manager.
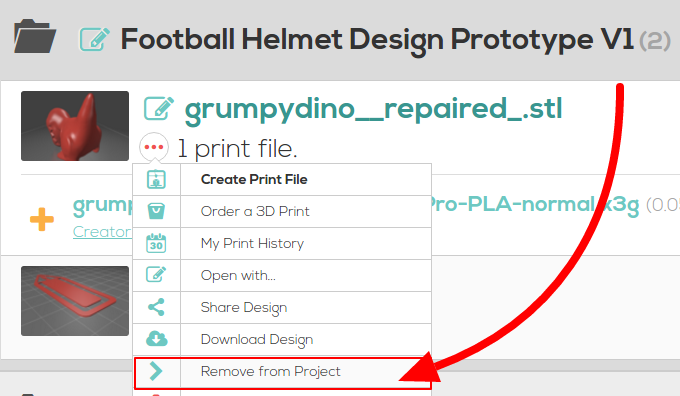
 

Removing designs on Astroprint Project folders


Deleting Projects


Delete project folders in AstroPrint


  • Warning: If you remove/delete a Project Folder containing design files, you will lose everything. Just in case you accidentally pressed “Delete” on a Project folder, you’ll be asked for confirmation, however.


How to delete projects on AstroPrint

That’s it!

You have just become a much more organized human being 🙂

If you have any suggestions on improving the workflow of this feature, please let us know via our forums or twitter. As always, we make a concerted effort to incorporate your feedback into future iteration(s) of AstroPrint.

Read More

The Ultimate 3D Printing Cheat Sheet

People love buffets.

Buffets allow the indecisive to skip and hop around without guilt or committing to just one boring dish.

A quick taste here, a sample there.

It’s a fun time.

Well, ladies and gentlemen, I have compiled such a buffet just for you.

It is a very special kind of buffet, in that, it contains all of the 3D Printing resources you would ever need.

A magnum opus, an ultimate (and evolving) index of everything 3D Printing — hand curated, JUST FOR YOU.

In layman’s terms: It is the Ultimate 3D Printing Cheat Sheet – one you can re-visit over and over again to find exactly what you need.
(more…)

Read More

Print your queues with your 3D Printer

New App! Create & Modify STL’s with the Leopoly APP


The Free Leopoly APP is now available on the AstroPrint APP Store. If you are not familiar, Leopoly is a well-known tool designed to make 3D design super simple – especially if you are not too familiar with common CAD software. If you don’t have the time to crawl over steep learning curves prevalent in popular CAD software like SolidWorks, Blender etc., you should find the

If you don’t have the time to crawl over steep learning curves prevalent in popular CAD software like SolidWorks, Blender etc., you should find the

If you don’t have the time to crawl over steep learning curves prevalent in popular CAD software like SolidWorks, Blender etc., you should find the Leopoly APP to be quite handy – especially in importing and modifying your STL files directly inside your AstroPrint cloud account.


LEOPOLY 3D Design APP on AstroPrint

(more…)

Read More