The AstroPrint Cloud Slicer uses CURA engine for slicing and generating GCODE files — but, here’s the thing: You can use ANY slicer you want (like CURA or Simplify3D) and STILL take advantage of all the other incredible features AstroPrint has to offer, like: Remote Monitoring, and Print Queuing.
As long as you have a AstroPrint Compatible 3D Printer — your workflow will be a LOT easier (and fun!) REGARDLESS of whether you choose to use our cloud slicer or not.
Speaking of slicing…
One of the most requested features of AstroPrint has been — the ability to upload GCODE files directly via the AstroPrint Cloud.
Until now, pre-sliced GCODE and X3G files could only be uploaded locally via the AstroBox Gateway.
I say “Until Now” because…
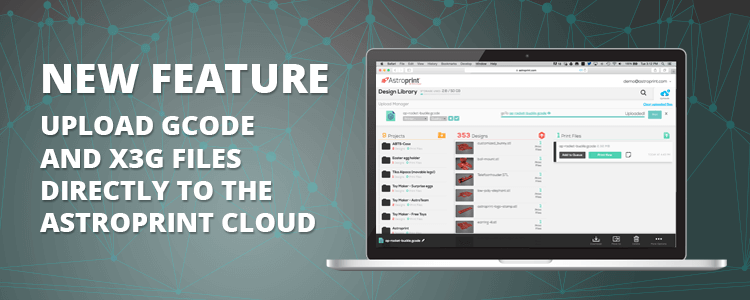
You can now upload pre-sliced GCODE (and X3G) files via the Design Library app on the AstroPrint Cloud.
If you are interested in printing pre-sliced GCODE (or even X3G if you use a 3D Printer running Sailfish firmware) files — you can now upload those directly via the Design Library App on the AstroPrint Cloud.
It’s as easy as clicking “Upload Print File” and selecting your print file 😉
By the way, if you don’t want to upload pre-sliced design files, you can still upload STL files to the AstroPrint Cloud and have the AstroPrint Cloud Slicer generate the GCODE (or X3G) files AND send them to your printer automatically.
In fact, that method is still recommended for beginners because it is the EASIEST and MOST CONVENIENT.
How to use the Design Library with GCODE (or X3g) Print Files
If your goal is to upload a pre-sliced GCODE (or X3G) print file via the Design Library, it’s as easy as clicking UPLOAD PRINT FILE.
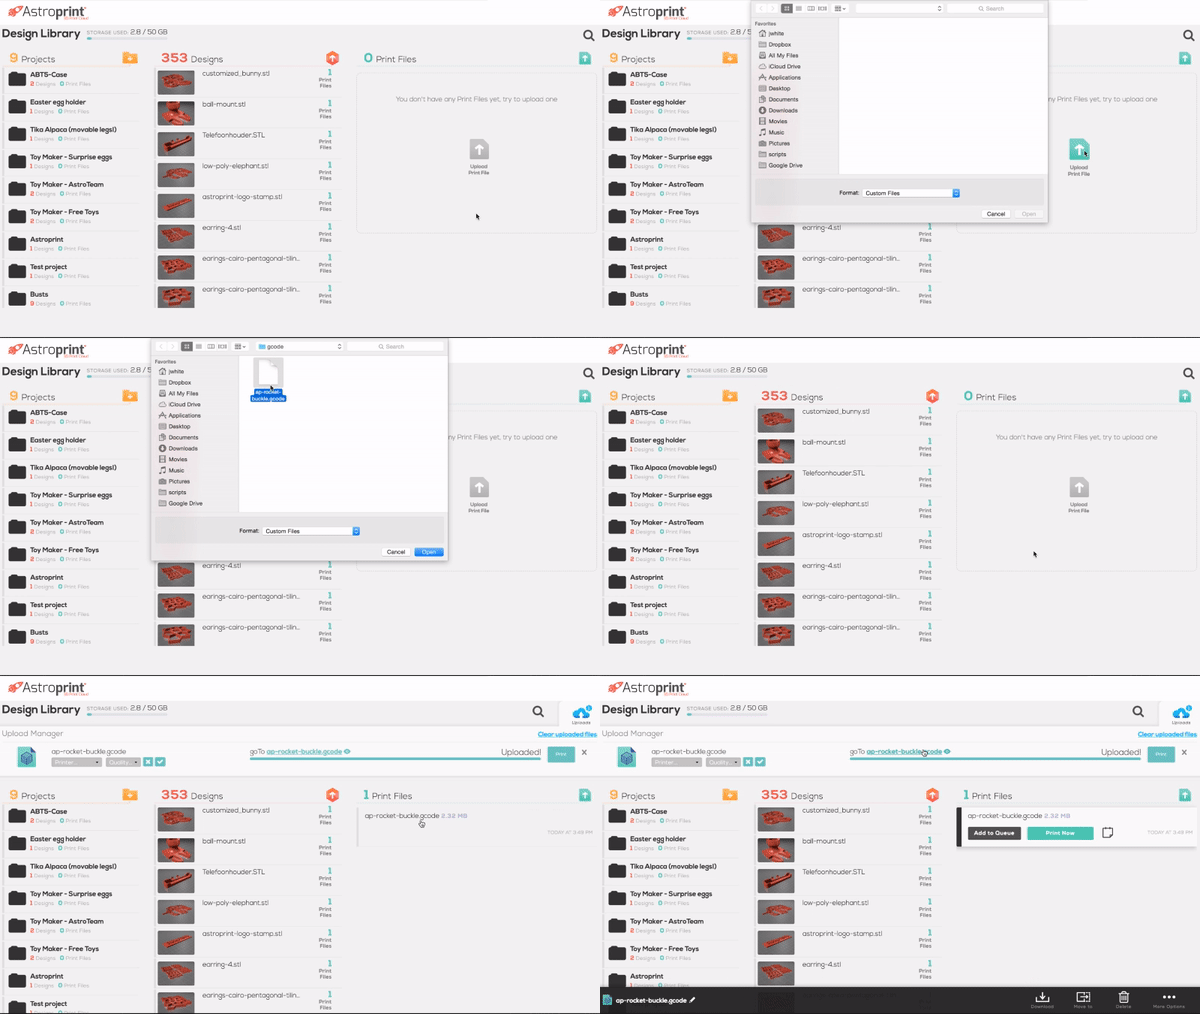
💡 Note: Create a dedicated Project Folder and store all of your project files in it to keep things neatly organized.
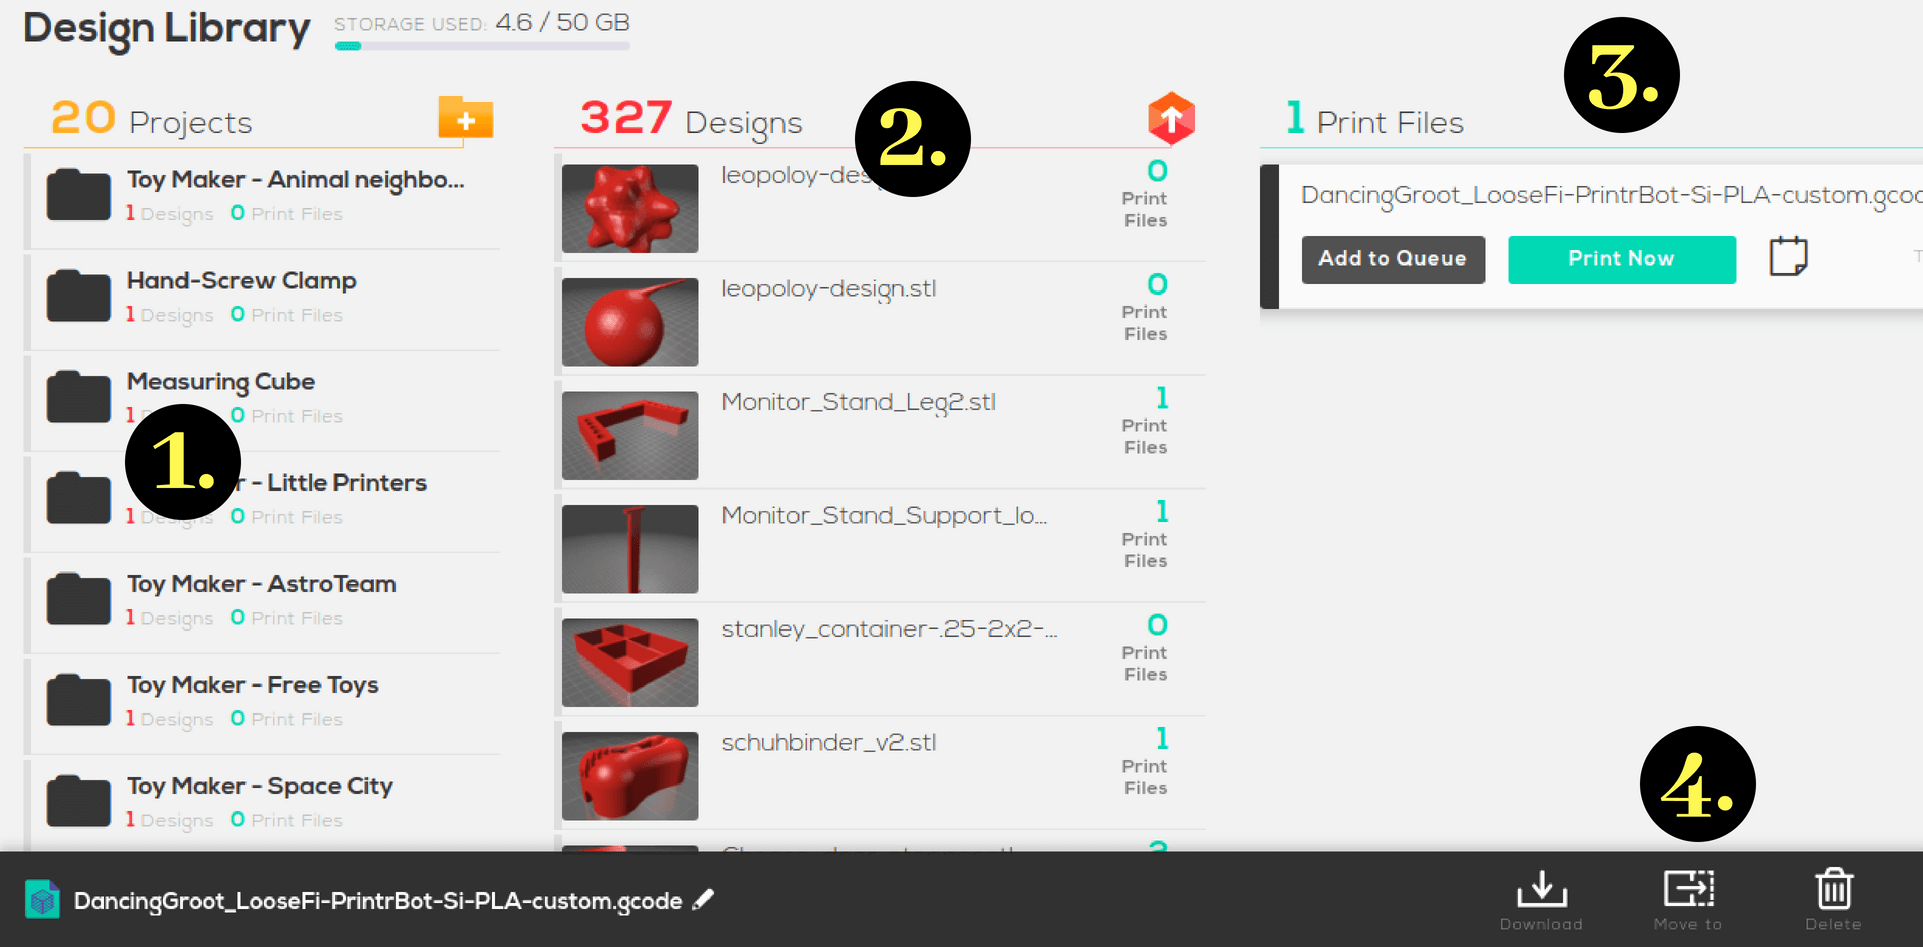
In fact, here’s what’s possible with the Design Library app on the AstroPrint Cloud:
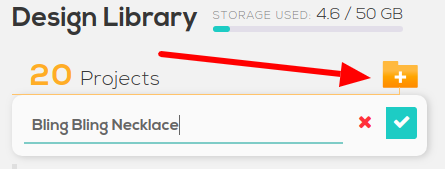
- On the far left—the first column allows you to create new project folders to organize your DESIGN and PRINT FILES.
- The middle column lists all of your DESIGN FILES in STL format.
- On the far right—the third column shows all of your print files. In addition to being able to print and add your print file to a Queue to print it later—selecting the print file will cause an additional options menu to pop up on the bottom.
- Once you SELECT A PRINT FILE on the third column—you’ll notice an additional menu on the bottom of the screen. The menu on the bottom of the screen allows you to DOWNLOAD THE PRINT FILE, MOVE IT TO A DIFFERENT PROJECT, DELETE IT or EDIT IT.
Once you choose a DESIGN FILE (STL) OR A PRINT FILE (GCODE / X3G)—you’ll notice a menu with additional options on the bottom of your screen:

As you can see, the entire workflow is fairly straightforward.
One thing I want to mention is that…
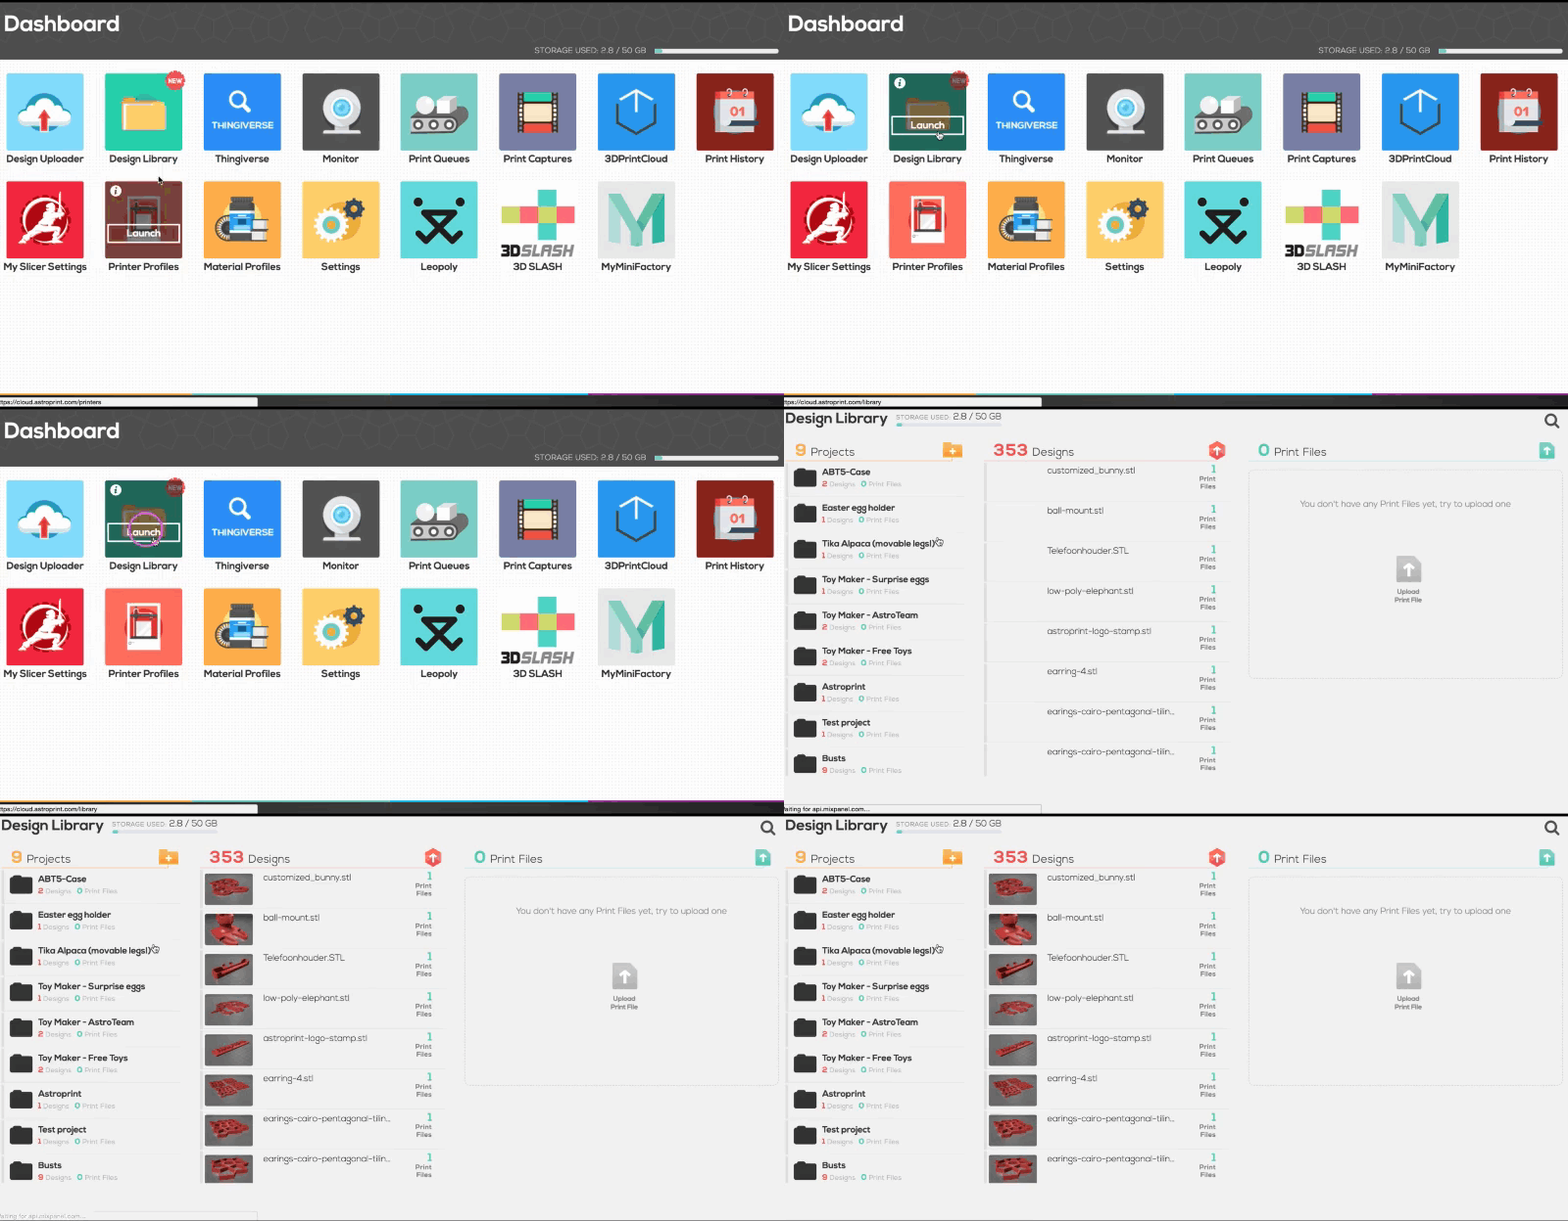
When you FIRST open up the DESIGN LIBRARY and haven’t selected a Project Folder, you should STILL see DESIGN FILES and PRINT FILES.
These Design and Print files are essentially orphaned files without a dedicated Project Folder… think of them as the ROOT (/) directory of the Design Library app.
…and if you select a Project Folder and would like to go back to the initial root directory, you have two options: Either click on the selected Project Folder to TOGGLE back to the initial screen OR click on the back arrow above the second column.
Like so:

Congrats!
You are now a Design Library master who can upload GCODE with your eyes closed 😉
Enjoy!
If you have any suggestions on improving the workflow of this feature, please let us know via our forums or twitter. Since we make a concerted effort to incorporate your feedback into future iteration(s) of AstroPrint, your opinion will likely influence the future of AstroPrint.

